I already had made several maps and knew about ENTITIES. If you don't know what entities are then you may wanna just stop reading now. My main problem was getting RIPENT to work. I would double-click on the ripent.exe that comes with Zoner's HalfLife Tools and nothing would happen. I am such a dip that I couldn't even understand how to fire up RIPENT from a DOS prompt. You can get a program called WINBSPC to decompile maps too, but it is about worthless for importing an edited map.
You can pull up a DOS prompt by either:
1)Pull it up from the Programs menu OR
2)push START, RUN, and in the RUN box type: command (and then hit ENTER)
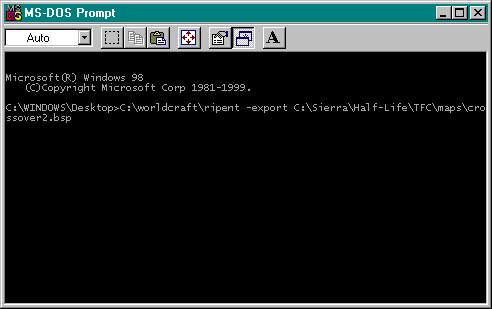
In the DOS prompt type: C:\worldcraft\ripent -export path/.bsp
Where path = the path to the map you want to edit.
*IF your Worldcraft is in a different directory than C:\worldcraft\ripent you will need to change it, of course, to the right path. Once you have a small DOS prompt window open, you can even drag/drop the ripent.exe right into it to get the path.
(EX. C:\worldcraft\ripent -export C:\Sierra\HalfLife\TFC\maps\2fort.bsp)( See Fig. 1 below)
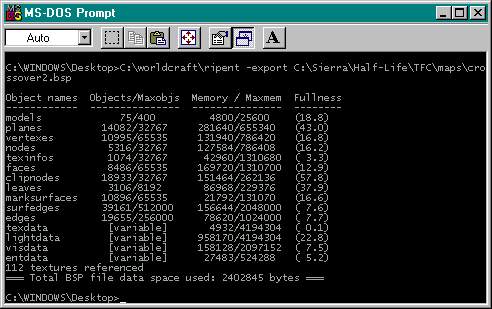
If you did it right you will see a mess of info roll down the screen. (Fig. 2)
Now, you can edit the .ent file that shows up in the directory of the map you just -exported. In my TFC/maps folder I would now find a file called, "2fort.ent".
This .ent file stands for (you guessed it) ENTITIES file. Open this .ent file with wordpad or some other decent text editor. I have been told that notepad isn't so good for this.
This file lists the entities and each one looks something like this:
{
"origin" "1568 1120 160"
"scale" "2"
"renderamt" "255"
"rendermode" "5"
"model" "sprites/flare6.spr"
"framerate" "10.0"
"rendercolor" "0 0 0"
"spawnflags" "1"
"classname" "env_sprite"
}
Notice the ORIGIN. These three X,Y,and Z coordinates tell where an entity sits in the map.
To change them, just fly around in noclip mode (admin_noclip <my WON ID> 1)[if you have adminmod running on your server (no, don't put the <>'s around your WON ID #)]to the new location you desire and type in "admin_userorigin" into your console. I usually bind a key to it: bind z "admin_userorigin <my WON ID #>. The new coordinates will appear in your console and you can substitute them for the original ones.
If you have ever made maps then you may have an idea what the other attributes mean. The CLASSNAME is the actual name of the entity.
The brackets { and } must be on their own seperate line so make sure you don't screw up the entities. They must be laid out just the same as you found them. After editing, be sure to SAVE the document.
NOW, to put this .ent file back into the map just do the same as exporting except use: -import
you will be importing the map.bsp, by the way, NOT the .ent file
(EX. C:\worldcraft\ripent -import C:\Sierra\HalfLife\TFC\maps\2fort.bsp)
Throw the newly imported map on your server and you will see the changes. Your clients will have to download nothing, unless you put in custom skies or models, etc. One easy thing in the .ent file to change is the sky name in the Map Properties section of the .ent file. A list of skies can be seen at:
To see what kind of sprites are available, open your C:\Sierra\Half-Life\valve\Pak0.pak file with a tool like PakScape.exe (do a search engine look for PakScape).